Navigation
Move between the main TaskLaunch modules from the desktop rail, mobile footer, and profile menus.
What This Is For
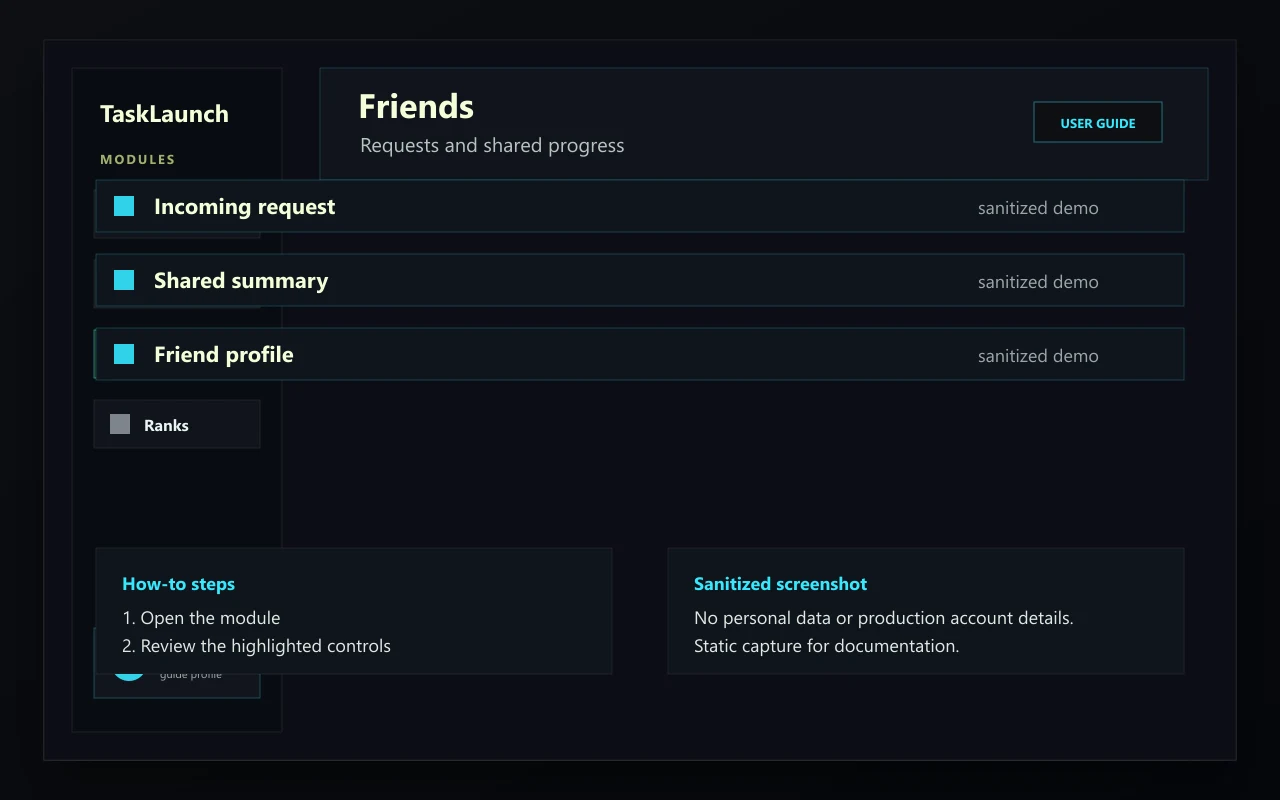
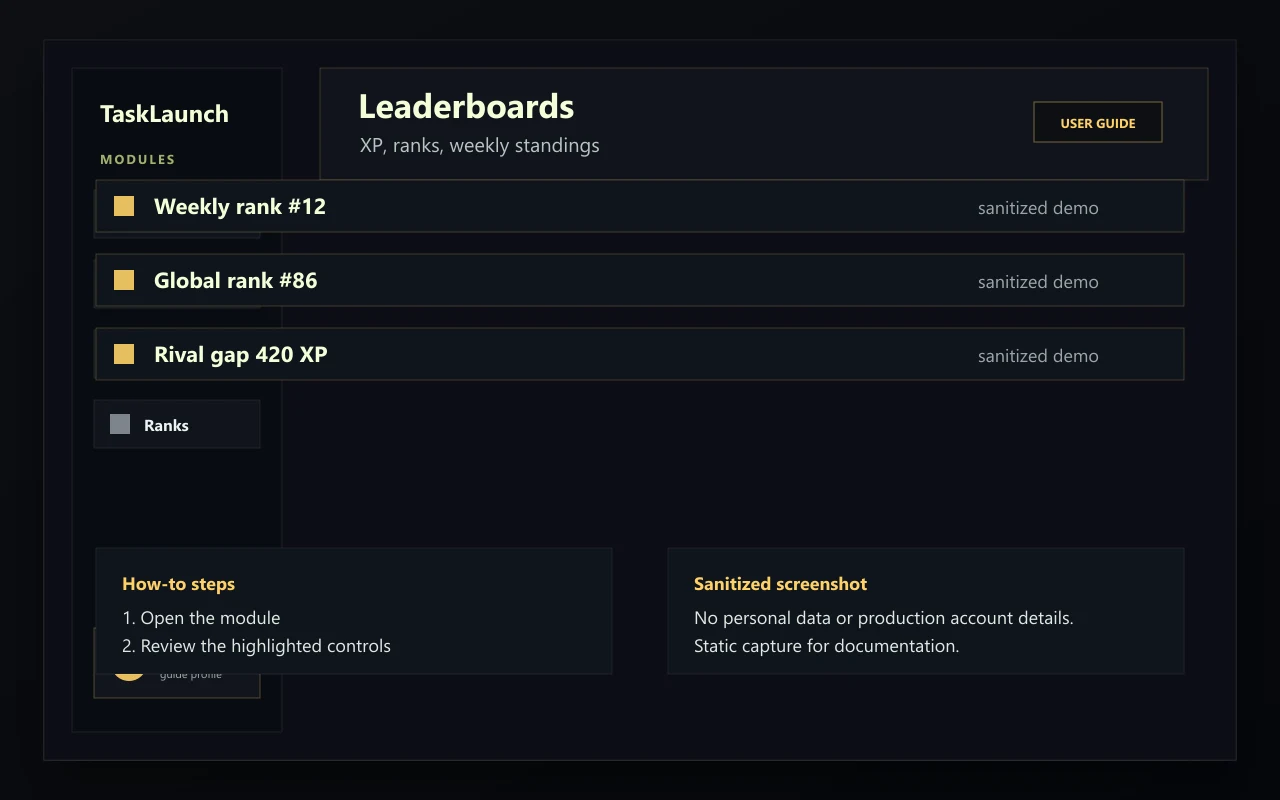
- The desktop rail holds the main modules: Dashboard, Tasks, Friends, and Leaderboards.
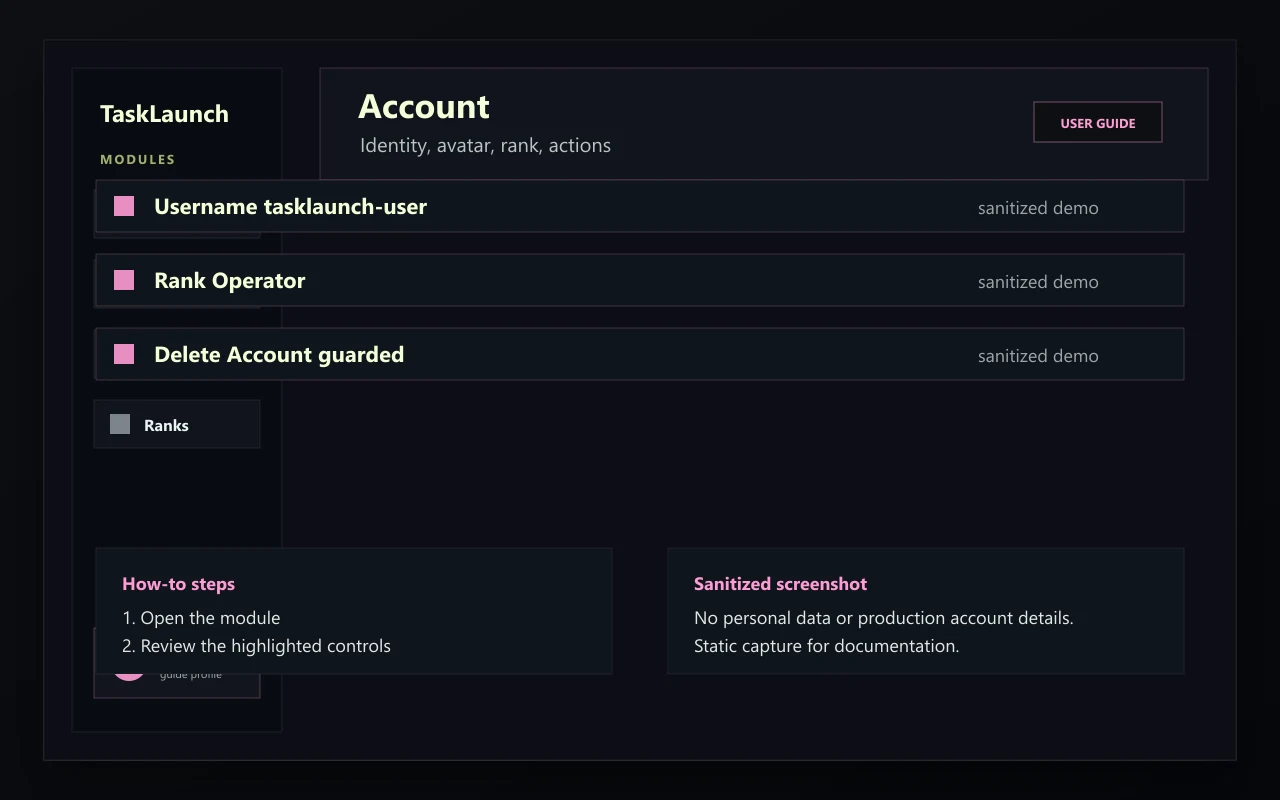
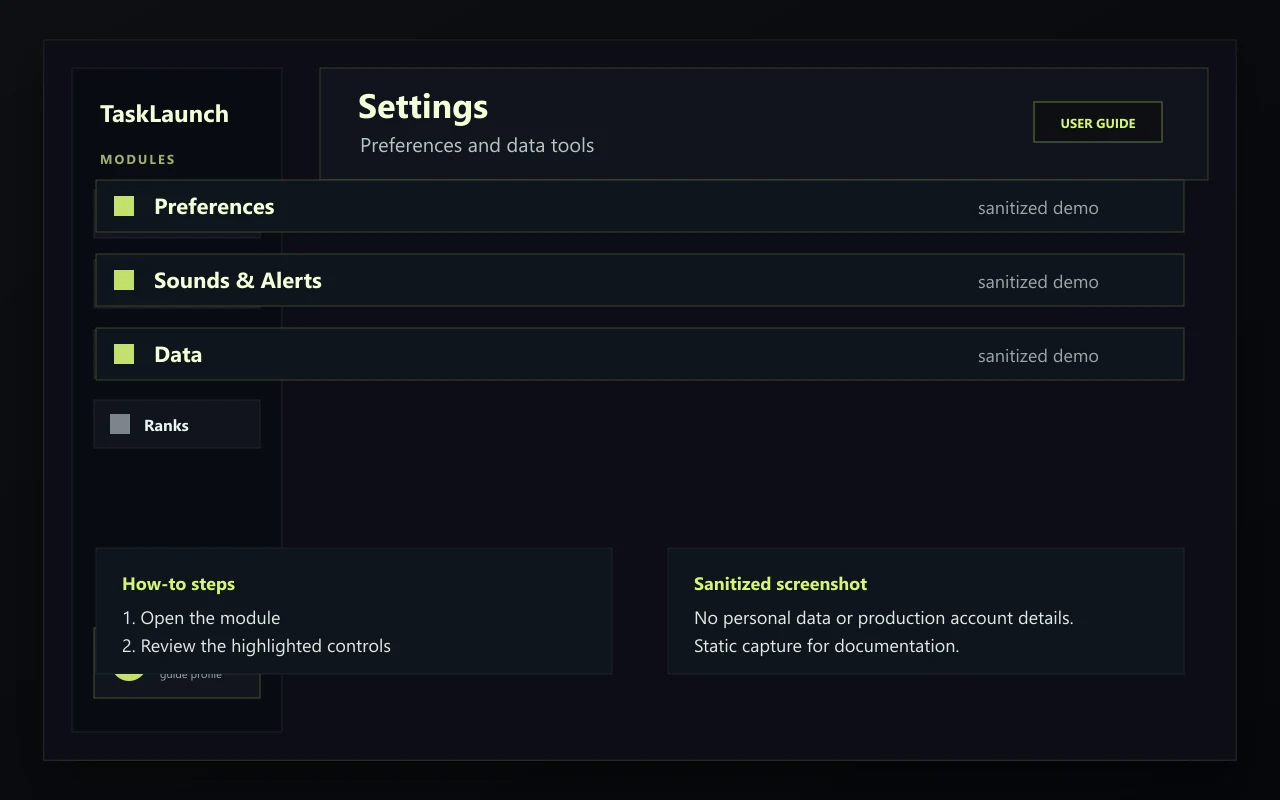
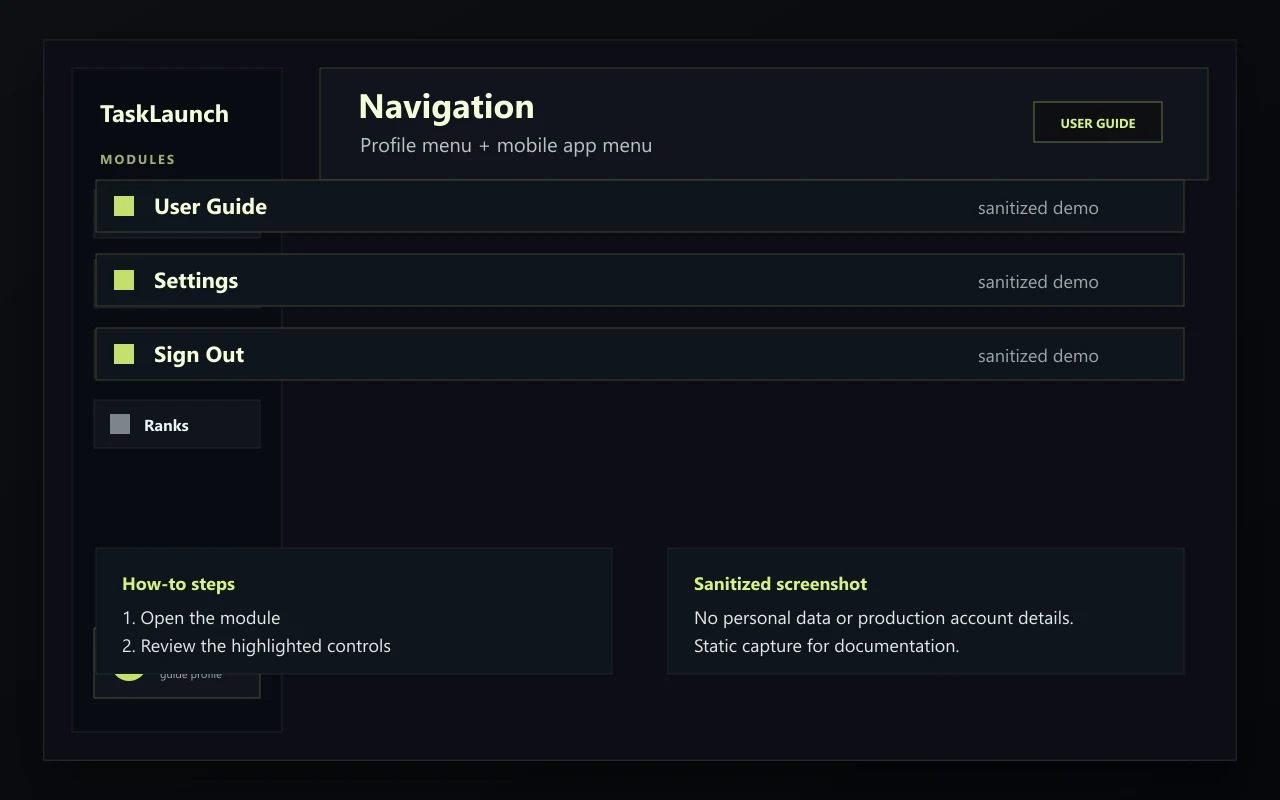
- The profile summary card opens secondary actions such as Settings, User Guide, and Sign Out.
- On smaller screens, the footer keeps core modules reachable while the hamburger menu holds account-level actions.
Helpful Notes
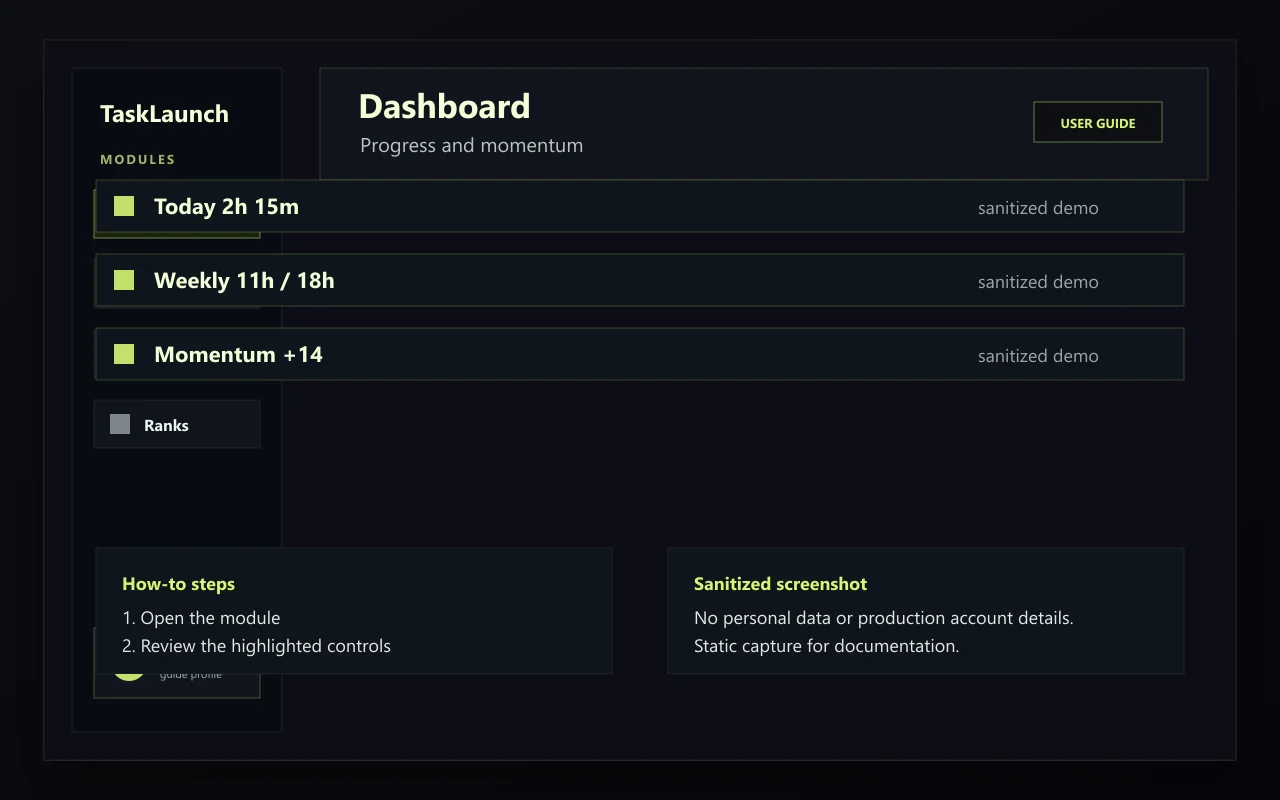
If you are unsure where to start, open Dashboard first and use its summaries to choose the next task.
The profile menu is reserved for account, help, and sign-out actions rather than daily workflow tools.
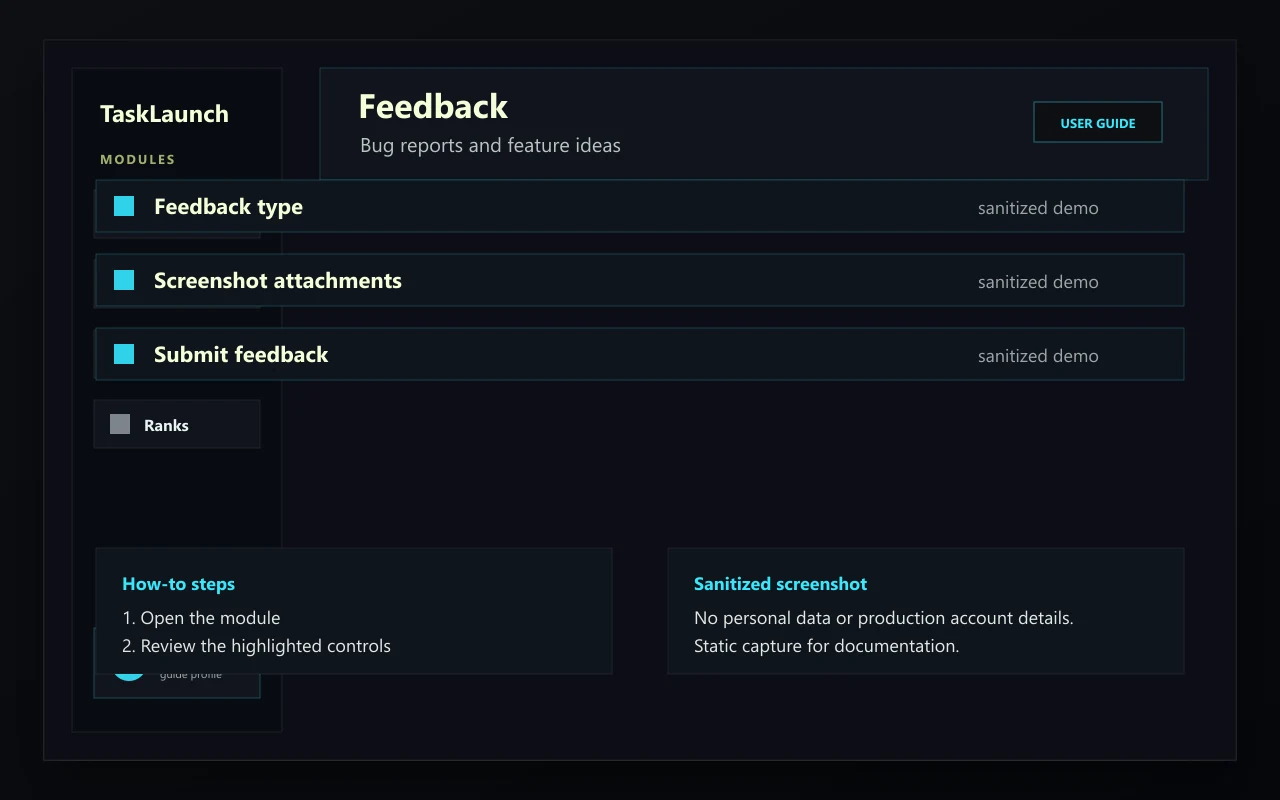
Open the User Guide from the app
- On desktop, select the profile summary card at the bottom of the rail.
- Choose User Guide from the profile menu.
- On mobile, open the hamburger menu in the top bar and choose User Guide.
Return to core modules
- Use Dashboard for progress and summaries.
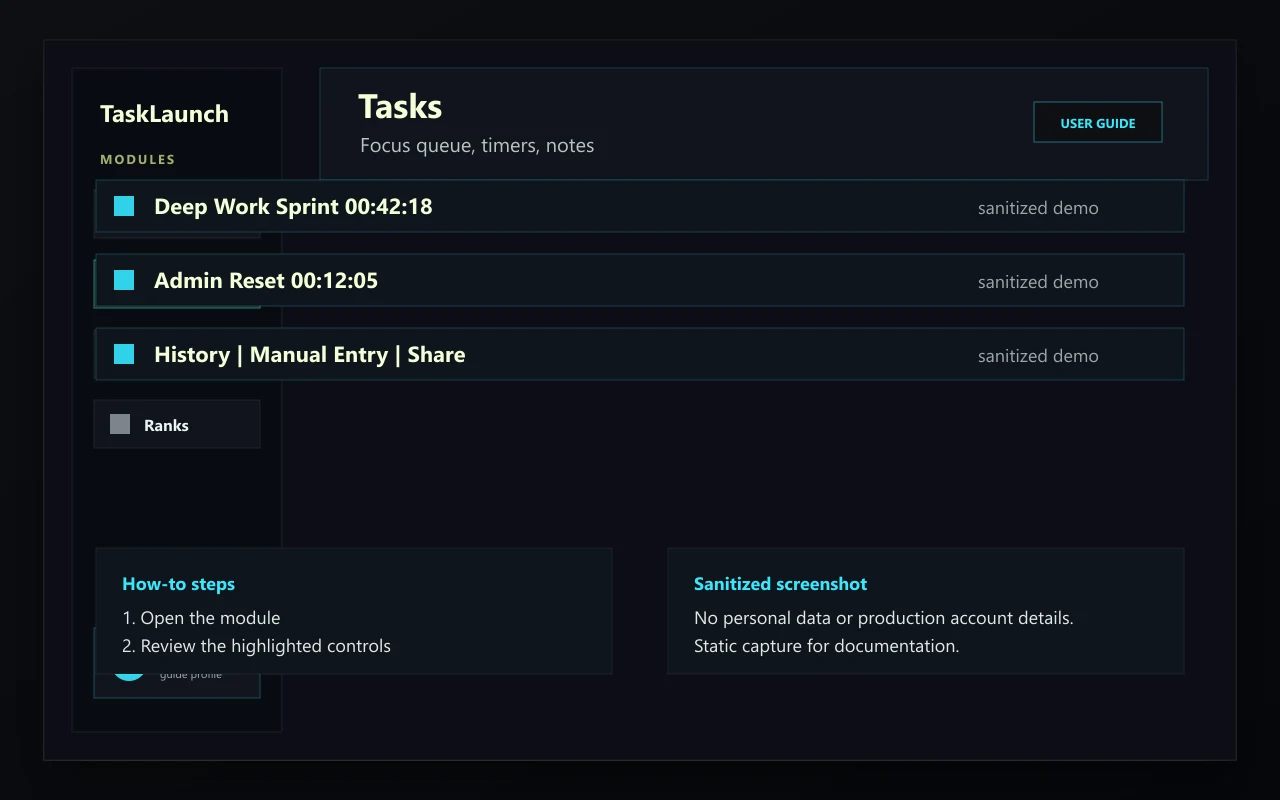
- Use Tasks for active timers and task setup.
- Use Friends and Leaderboards for social progress views.